Installing a Ceiling Fan – A Step-by-Step Guide
Introduction
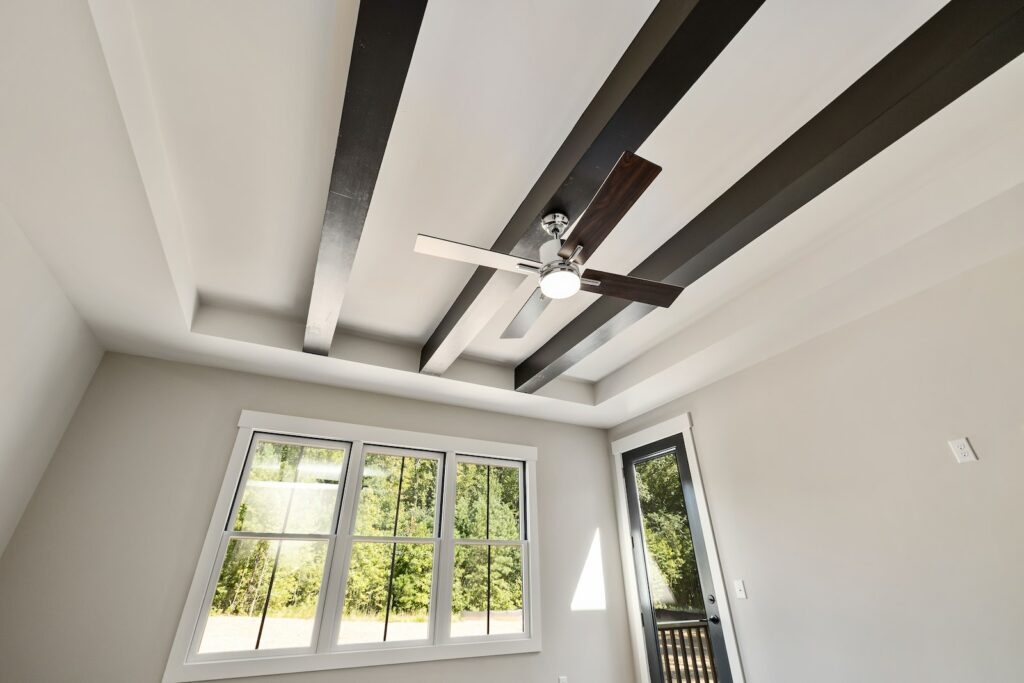
Installing a ceiling fan is an easy DIY project that can be done in a few hours and for a relatively low cost. It is a great way to add a decorative touch to your room and helps to lower cooling costs by circulating air throughout the room. Installing a ceiling fan is also a great way to help keep your home cool during the summer months, reducing energy costs. This guide provides step-by-step instructions for successfully installing a ceiling fan.
Time and Cost
The time required to install a ceiling fan may vary, depending on the complexity of the project and the fan you have purchased. In general, the installation process will take between two to four hours.
In terms of cost, the fan itself can range from around $50 (for a basic fan) to several hundred dollars (for a deluxe model). You’ll also need to buy the mounting bracket and hardware, as well as additional electrical components such as pull chains and/or remote controls. Depending on the fan, you may need to purchase additional components as well.
Tools and Materials
Before you begin, it is important to make sure you have all the tools and materials necessary for the job. The following items are required for the project:
• Ceiling fan
• Mounting bracket
• Wire nuts
• Screwdriver
• Wire strippers
• Level
• Electric box
• Pull chains or remote control
Step by Step Guide
Step 1: Turn off the Power
Before you start any electrical project, it is important to turn off the power. To do this, simply switch off the breaker for the circuit you will be working on. This will ensure that the power source to the fan is completely disconnected.
Step 2: Remove Existing Light Fixture
Once the power is turned off, you can now remove the existing light fixture from the ceiling. Start by removing the light cover and unscrewing the mounting screws. Once the screws are removed, gently pull the light fixture away from the ceiling. Next, disconnect the wires and carefully set the light fixture aside.
Step 3: Install the Mounting Bracket
Now that the existing light fixture has been removed, you can begin to install the mounting bracket. Begin by attaching the mounting bracket to the ceiling with the screws that came with it. Once the bracket is in place, use a level to ensure it is level.
Step 4: Connect the Wires
Next, connect the wires to the mounting bracket. Start by connecting the ground wires first, then the white neutral wires, and finally the black hot wires. Make sure all the wires are securely fastened with wire nuts.
Step 5: Attach the Fan to the Bracket
Once the wiring is complete, you can now attach the fan to the bracket. Begin by sliding the fan onto the bracket, making sure it is secure. Use the supplied screws to fasten the fan firmly to the bracket.
Step 6: Connect the Pull Chains or Remote Control
Depending on the fan you purchased, you may need to connect the pull chains or a remote control. If you have a pull chain, simply connect the two wires to the two corresponding wires on the fan. If you have a remote control, follow the instructions provided with the remote to connect it to the fan.
Step 7: Test the Fan
Before fastening the fan to the ceiling, it is important to test the fan to make sure it is working properly. Simply turn on the power and then flip the switch to turn on the fan. The fan should start spinning and the pull chain (or remote) should be able to control the speed and direction of the fan.
Step 8: Fasten the Fan to the Ceiling
Once you have tested the fan and are satisfied with the results, you can now attach the fan to the ceiling. Use the screws that came with the fan to secure it to the mounting bracket. Make sure the screws are tight so the fan will be secure.
Step 9: Install the Light Fixture
The final step is to install the light fixture. Begin by attaching the light fixture to the fan using the screws provided. Then, connect the wires to the corresponding wires on the fan. Finally, replace the light cover and flip the switch to turn the light on.
Conclusion
Installing a ceiling fan is a relatively easy DIY project that can be done in a few hours with basic tools and materials. Not only does a ceiling fan add a decorative touch to your room, it helps to circulate air throughout the room, reducing energy costs. Following the steps outlined in this guide should ensure a successful installation.
Precautions
When working with electricity, it is important to use caution at all times. Be sure to turn off the power before starting the project and only work on one circuit at a time. Additionally, make sure the fan is securely fastened to the ceiling before testing it. Lastly, never attempt to work on the fan or light wires unless you are familiar and comfortable with electrical wiring.

