How to Install a Programmable Thermostat: A Step-by-Step Guide
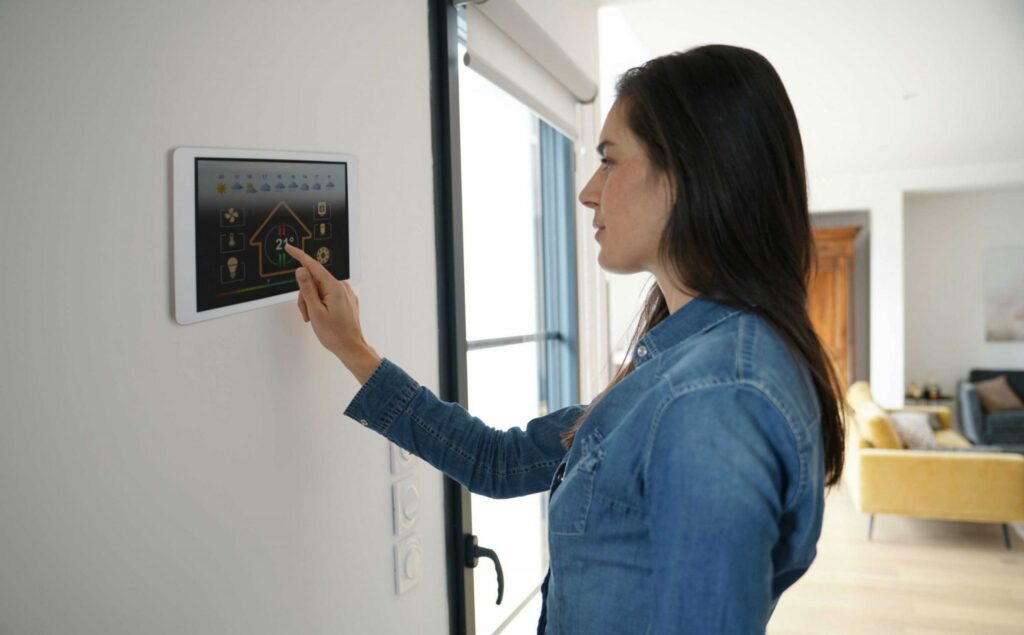
Installing a programmable thermostat is a great way to save money, energy, and time. The government estimates that the average household can save about $180 a year in energy costs with a programmable thermostat. In addition to saving money, a programmable thermostat can save time by allowing you to set temperatures at different times of day. This is especially helpful if you’re away from home during certain hours and want to save energy while you’re gone.
This guide will walk you through the process of installing a programmable thermostat, including the time and money needed to get the job done. Before you start, make sure you have all the materials you will need. Also, keep in mind some important safety precautions.
Safety Precautions
Installing a programmable thermostat is a job best left to a qualified professional. If you aren’t confident in your ability to perform the job, it’s best to call someone who can. Additionally, you’ll want to make sure you turn off the power to the HVAC system before attempting to install the thermostat. You’ll also want to make sure all the wires have been disconnected or have been proven to be safe to work around.
Materials Needed
Before you get started, you’ll need to make sure you have all the materials you will need for the job. These include your programmable thermostat, screwdriver, wire stripper, wire cutters, electrical tape, and other tools. Additionally, you may need to buy some of the materials, such as the programmable thermostat and any wiring or tools that you don’t already have.
Time and Expense
Installing a programmable thermostat should take about an hour, depending on your experience level. If you need to buy any materials, you should also plan for the cost of those items. The cost of the programmable thermostat itself can vary depending on the type and brand of thermostat you choose. Additionally, if you need to buy any additional materials or tools, you should budget for those expenses as well.
Step-by-Step Installation Guide
Once you have the tools and materials you need, you can begin the installation process. Here’s a step-by-step guide to help you get started.
Step 1: Turn off the power to the HVAC system.
Before you can begin the installation process, make sure you turn off the power to the HVAC system. This will ensure that the system won’t turn on while you’re working on it.
Step 2: Remove the old thermostat.
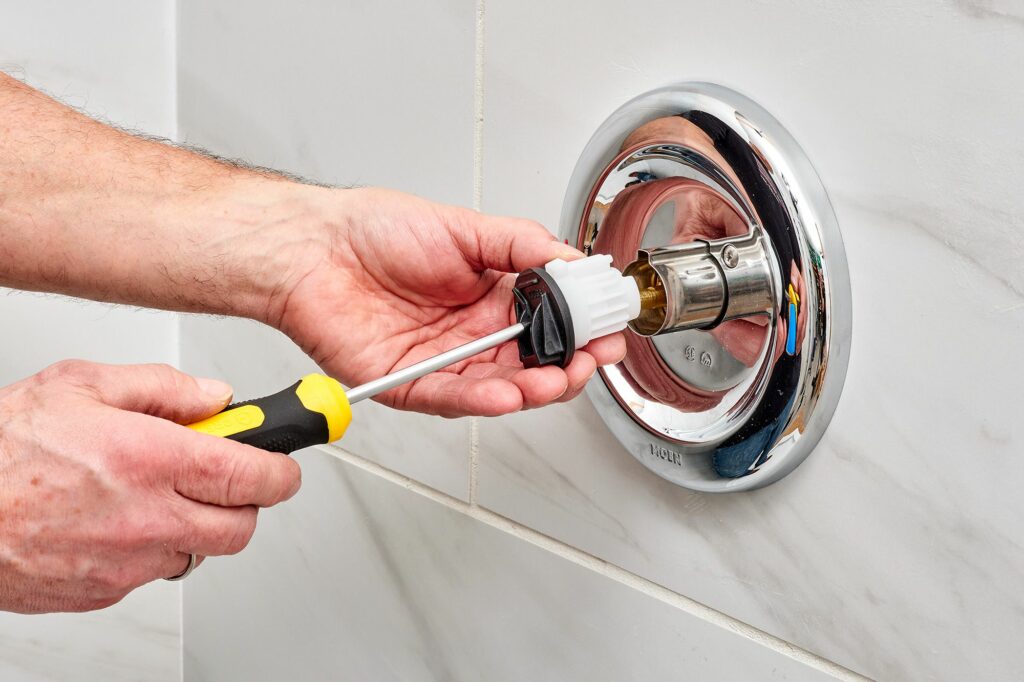
Next, you’ll need to remove the existing thermostat from its base. To do this, you may need to use a screwdriver or other tool. Carefully remove the thermostat and disconnect the wires.
Step 3: Install the new thermostat.
Once the old thermostat has been removed, you can begin to install the new one. Install the new thermostat onto the base and reconnect the wires to their corresponding terminals. Make sure all the wires are secure and tight before you move on to the next step.
Step 4: Program the thermostat.
Now that the thermostat is installed, you’ll need to program it. Depending on the type of thermostat you purchased, this process will vary. Follow the manufacturer’s instructions to program the thermostat.
Step 5: Test the thermostat.
Finally, you’ll want to test the thermostat to make sure it’s working correctly. Turn the power back on and set the temperature to the desired level. The thermostat should begin to regulate the temperature of the HVAC system accordingly.
Conclusion
Installing a programmable thermostat is a great way to save money, energy, and time. With the right materials, tools, and instructions, you can complete the installation process on your own. Remember that it’s best to turn off the power to the HVAC system before beginning any work on the thermostat. Additionally, make sure you budget for the cost of any materials or tools you may need to purchase. With the right preparation and tools, you can easily install a programmable thermostat in no time.

