How to Install a New Kitchen Faucet: A Step-by-Step Guide
Installing a new kitchen faucet can seem like a daunting task, but it doesn’t have to be. With a few simple tools and a bit of knowledge, you can take the first step towards making your kitchen look and feel brand new. By taking some time and following a few easy steps, you can have a new kitchen faucet installed in no time.
Why Installing a New Faucet is Important
Installing a new kitchen faucet can have a variety of benefits for your home. Whether you’re looking to upgrade the look of your kitchen, or simply want to improve the quality and efficiency of your water fixtures, a new kitchen faucet can make a big difference.
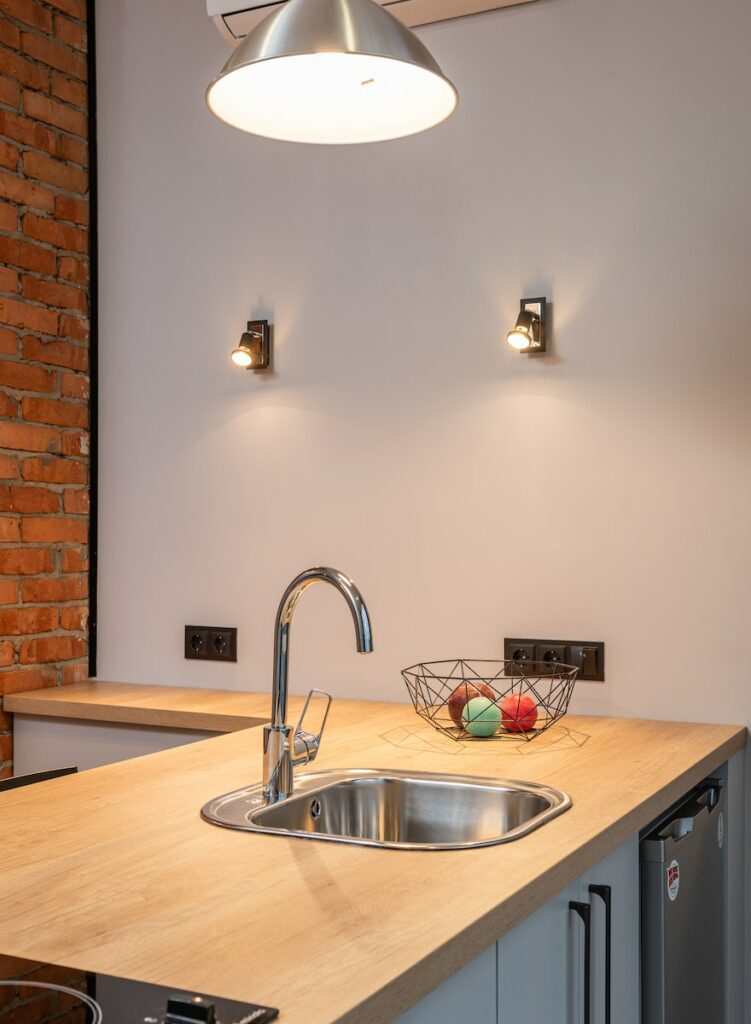
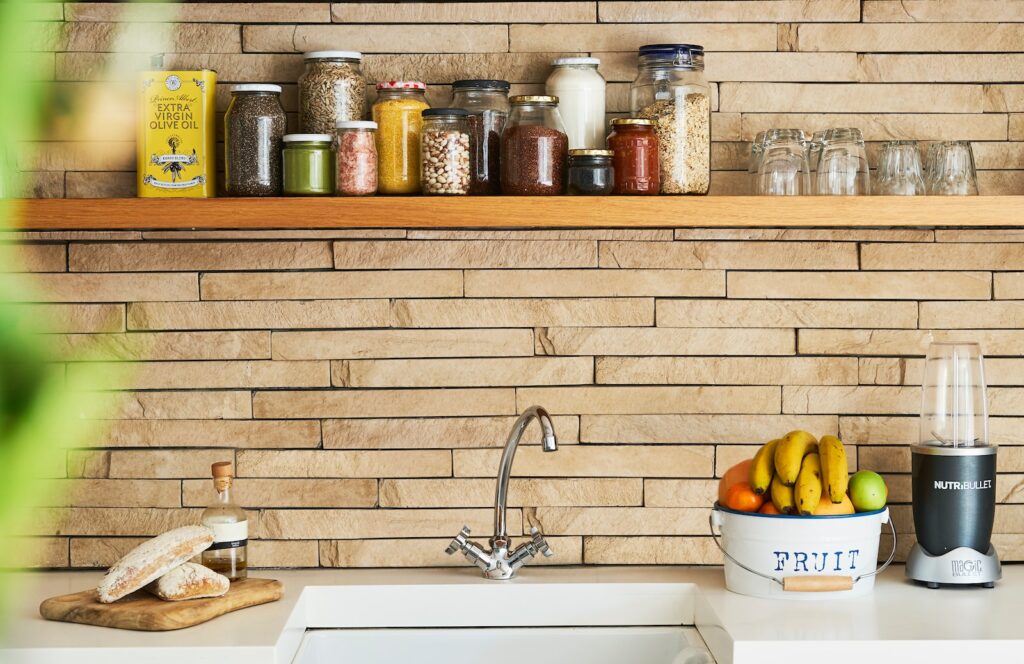
Newer models may be designed to be more efficient, conserving water and helping you save on your utility bills. Installing a new faucet can also offer improved performance, with better pressure and temperature control. Additionally, installing a new faucet can help improve the overall look of your kitchen, giving it a modern and stylish upgrade.
What You’ll Need
Before you get started, you’ll need to make sure that you have all the necessary tools and supplies. To simplify the process and make it easier, we recommend using a faucet repair kit, which can be easily obtained from any home improvement store.
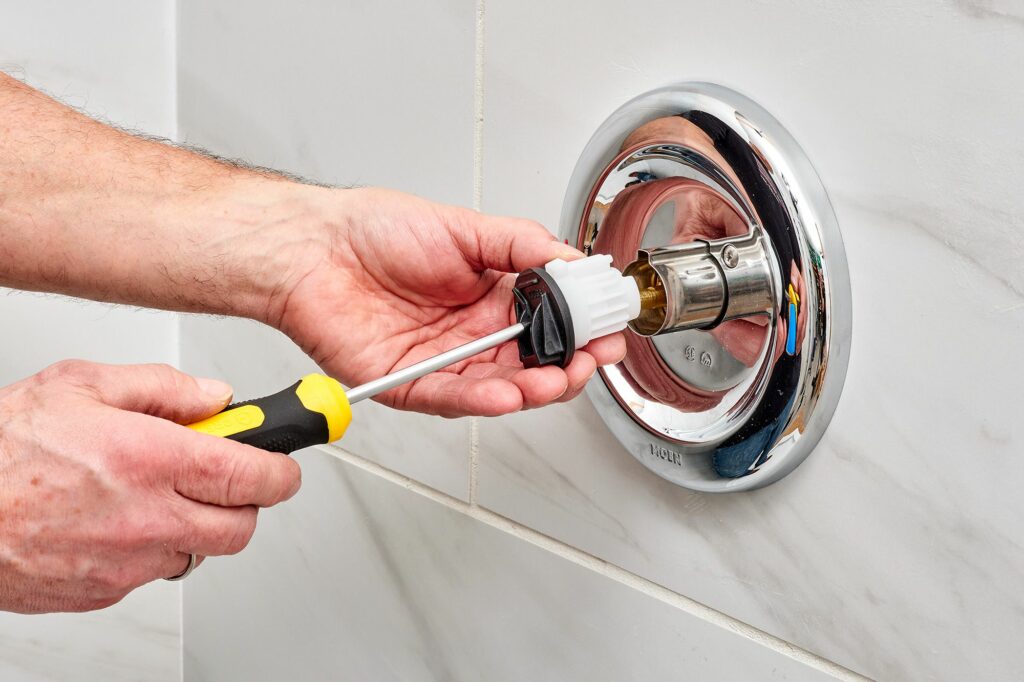
The most common items you’ll need include an adjustable wrench, a basin wrench, plumber’s putty, a screwdriver, scouring pads, and an instruction manual for your faucet. You’ll also need a few basic materials and supplies, such as a bucket, a rag for cleaning, and a towel for drying.
Step 1: Turning Off the Water Supply
The first thing you’ll want to do is turn off the water supply. Most homes will have a main water shutoff valve near the water heater, but you’ll want to check and make sure that the valve is off before you begin working. This will prevent any water from entering the pipes while you’re working.
Step 2: Removing the Old Faucet
Now that the water is shut off, you’ll want to remove the old kitchen faucet. To do this, use an adjustable wrench to loosen the retaining nuts that secure the old faucet to the sink. Once these are loosened, you can use a basin wrench to remove the other hardware.
Once all of the hardware is removed, you can then pull the faucet away from the sink. Be sure to save all the hardware, as you’ll need them later.
Step 3: Installing the New Faucet
Now that the old faucet is removed, you’ll be ready to begin installing the new one. It’s important to follow the instructions included with your faucet very closely for the best results.
Start by applying a bead of plumber’s putty along the bottom edge of the new faucet. Then, position the new faucet into place, and use the saved hardware to secure it tightly.
Once the faucet is in place, you’ll want to check that it is level and securely affixed to the sink. Now, you can reattach the water supply line, and tighten it with an adjustable wrench.
Step 4: Testing the Faucet
The final step is to test the faucet. Start by turning on the water supply and checking for any signs of leaks. If everything looks good, turn the water on and off, testing the pressure and temperature of the water.
Time and Expenses Required
The amount of time and money required to install a new kitchen faucet will depend on the type of faucet you purchase and the complexity of the installation process. On average, you can expect the entire process to take anywhere from an hour to several hours, depending on the challenge.
In terms of expenses, you’ll likely need to purchase a repair kit, which can range anywhere from $20 to $50. You may also need to buy some additional supplies, such as plumber’s putty and a basin wrench.
Conclusion
Installing a new kitchen faucet can seem intimidating, but it doesn’t have to be. By taking a few simple steps and following these instructions, you can have a new faucet up and running in no time. Installing a new kitchen faucet can have a variety of benefits, from improved performance to saving money on your utility bills. No matter which style of faucet you choose, installing a new one is sure to give your kitchen a modern and stylish upgrade.

