DIY Outdoor Playhouse: How to Provide Endless Entertainment for Kids
Building a playhouse outdoors is a great way to provide endless entertainment for the kids in your life. Not only will it provide them with a fun place to play and use their imagination, but it will also give them the freedom to explore and grow. Plus, you can do it yourself with a few basic materials and tools, saving money in the long run!
In this DIY guide, we’ll discuss the step-by-step process of building an outdoor playhouse. We’ll also explain why it’s essential to create an entertaining playground for the kids in your life, discuss important safety precautions, and provide an estimated cost for the project. By the end of this guide, you should have the knowledge and tools to build a playhouse that will provide endless fun for the kids in your care. So let’s get started!
Why Build an Outdoor Playhouse?
Creating an outdoor playhouse is a great way to provide safe and entertaining activities for the kids in your life. Not only is a playhouse a great way to keep kids occupied and engaged, but it can also help them to grow. It teaches them to use their imagination, encourages creative play, and provides a safe haven to let their imagination and their need for exploration run wild.
Plus, having a playhouse outdoors can help to keep the kids in your life physically active. It gives them a space to explore and get some exercise. With the right tools and materials, you can design a playhouse with fun slide, swings, and tunnels that will get them out and moving.
Overall, a playhouse is a great way to provide physical and mental stimulation for the kids in your life, allowing them to be active, work off their energy and explore their world.
What You’ll Need for Your Outdoor Playhouse
Before you get started building, you’ll want to make sure you have all the necessary tools and materials. Here’s a quick list of the items you should have on hand:
-Wooden boards
-Deck screws
-Drill
-Circular saw
-Hammer & nails
-Paints & brushes
-Sandpaper
-Ladders
You may also want to consider buying included accessories such as swings and slides, but this is not required.
Step-By-Step Guide to Building an Outdoor Playhouse
Now that we’ve covered the basics, it’s time to get into the details. Here’s a step-by-step guide to help you construct the perfect outdoor playhouse for the kids in your life:
Step 1: Measure the Space and Design the Playhouse
The first step is to measure the area where you plan to build the playhouse. Once you have the measurements, you can start to design the playhouse. You can create your own design from scratch or utilize a premade template. Keep in mind that you should plan for the playhouse to be slightly bigger than the area you’re building it in, so the kids have plenty of room for activities and exploration.
Step 2: Gather Your Materials and Tools
Once you have a design, you can start to gather the materials and tools you’ll need. This includes measuring and cutting the wooden boards, gathering the drill, saw, screws, nails, ladders, etc. Having all of these on hand will ensure you have a smooth building process.
Step 3: Assemble the Frame
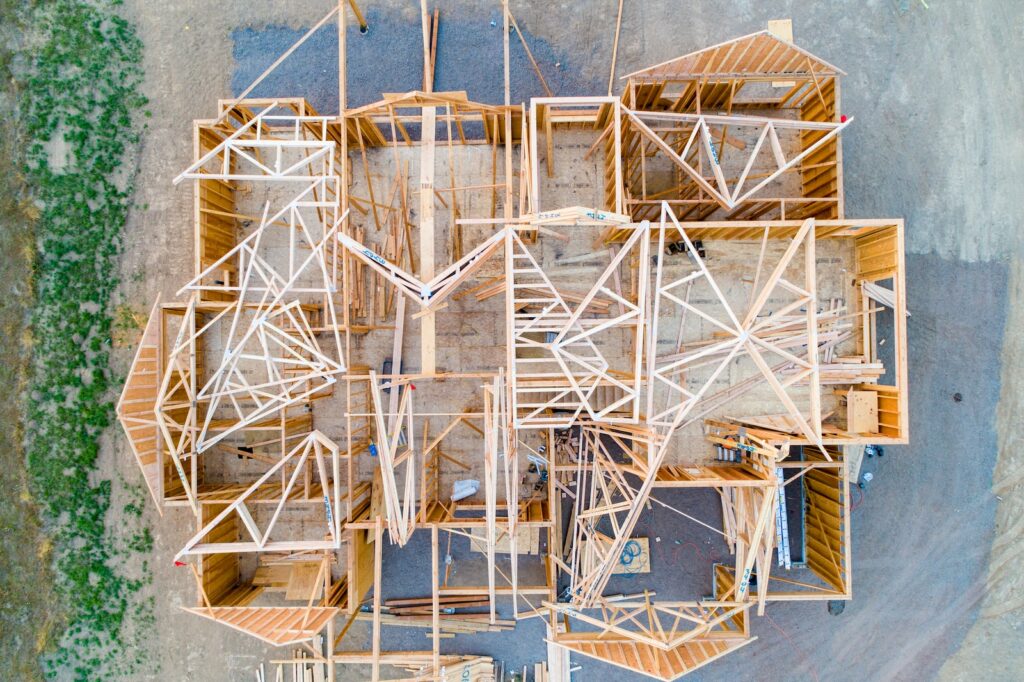
Once you have all your materials and tools in place, you can start to assemble the frame of the playhouse. This includes measuring and cutting the boards to the desired size and then drilling or nailing them together. Focus on making sure the frame is sturdy and stable to provide support for the playhouse.
Step 4: Add the Walls and Roof
Once the frame is assembled, you can start to add the walls and roof of the playhouse. When measuring and cutting the boards, make sure to leave enough room for doors and windows. Once these are in place, you can then attach the roof to the frame.
Step 5: Add Accessories and Paint
Once you have the basic structure of the playhouse in place, you can start to add any accessories that you want. This includes swings, slides or any other outdoor play tools. You can also use this time to add any decorations or paint the playhouse to give it some extra personality.
Step 6: Enjoy!
Once all the steps are complete, it’s time to enjoy your new playhouse! This is the perfect time to let the kids get involved and enjoy their new playground. They can explore, play and use their imaginations in a safe and fun environment.
Safety Precautions
Building a playhouse is an exciting project, but it’s important to take some safety precautions while doing so. When constructing the frame and walls, make sure to wear the appropriate safety gear, such as gloves and a mask. Never work alone and make sure to have a partner when using power tools, such as a drill or saw.
When it comes to paint and accessories, make sure you use non-toxic materials and ensure they are child-safe.
Cost and Time Estimate
The cost of the project will depend on the materials and tools you need. Most of the materials can be found at a local hardware store and should not exceed $100. For tools and extra decorations, the cost may vary, but it should not exceed $200. As for the time required for the project, plan for at least two days if you’re doing all the work yourself.
Conclusion
Building an outdoor playhouse is a great way to provide endless entertainment for the kids in your life. Not only will it keep them active and engaged, but it will also help them to use their imagination and explore the world around them. With a few basic tools and materials, you can create a playhouse that’s safe and entertaining. Just be sure to follow the steps in our guide and take the necessary safety precautions to keep everyone safe.
We hope this guide has helped you to understand the basics of building an outdoor playhouse. With this information, you should have the knowledge and tools to provide endless entertainment for the kids in your life.

